

 On Tuesday, I was feeling a bit tired, so I used an online art tool called Flame Painter to make these. It took about 30 minutes to make them.
Unrelated, I’m excited to say that Making Made was featured on the blog Make Something 365 today! Yay!


 On Tuesday, I was feeling a bit tired, so I used an online art tool called Flame Painter to make these. It took about 30 minutes to make them.
Unrelated, I’m excited to say that Making Made was featured on the blog Make Something 365 today! Yay!
 On Monday, I made these delicious onion tarts in order to use up some some of the extra onions we have leftover from Thanksgiving. I think we had five large purple onions and a whole bag of small yellow onions (we still have plenty left, anyone need some onions?) Although it took awhile to make the dough, caramelize the onions, and do the assembly, the tarts were really easy to make.
These would make for an impressive hors d’oeuvre for a party!
Tip: Since you’re already caramelizing onions for this, my recommendation is to make some extra and keep them in a ball jar in the fridge. I cut up an entire extra purple onion for this, and just had a piece of toast with the stuff. So good!
 Eek! The onions hurt my eyes. I should have gotten out some safety goggles or turned on a fan.
 It’s pizza in a tart shape. Yum! Note that you could pretty much fill these with anything: pasta sauce and mozerella; goat cheese and tomato; chorizo and chihuahua. It would all be good.
To make these beautiful little onion tarts, you’ll need about 1.75 hours. It’s a lot of time, but it’s worth it!
Ingredients/Supplies:
Directions:
And that’s it! The tarts keep pretty well in the refrigerator. Just zap them in the microwave for about 15 seconds or heat them in the oven for a few minutes to revitalize them.
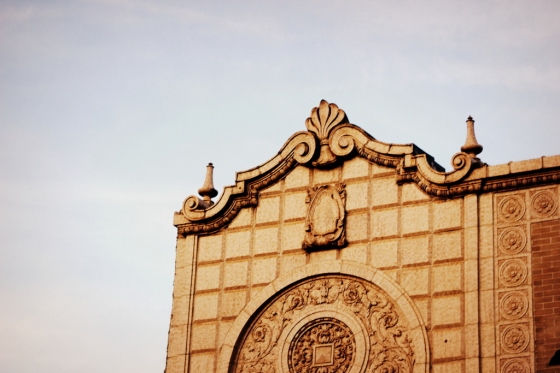
 Yesterday, we went for a long walk up Milwaukee Avenue, and I took some pictures. Since we left the house around 3 or 3:30, it got dark while we were walking, which meant that some of my pictures from the walk are much darker than others. Actually, on a whole the collection is sort of non-congruous, which might be because Milwaukee changes quite a bit as you walk northwest from my neighborhood. Just north of my house, it’s rather sparse and open, but past Logan Square it changes and becomes much more closed in, with old retail shops, some of them rather run down, crowding both sides of the street. That said, it’s always a nice walk, and makes for excellent people watching.
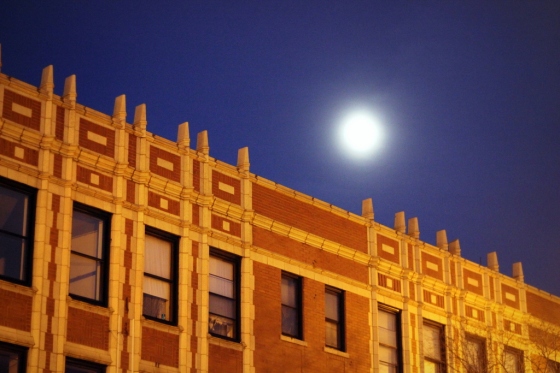
 The moon looked really pretty above this building, and I liked the way the street lights made the building look so orange. It contrasted nicely with the blue sky.
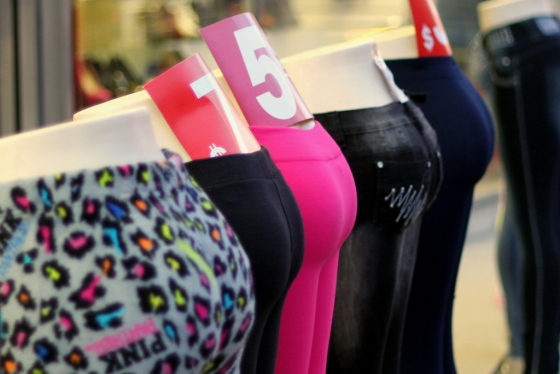
 Butt mannequins are a pretty common sight in Chicago. They always crack me up.
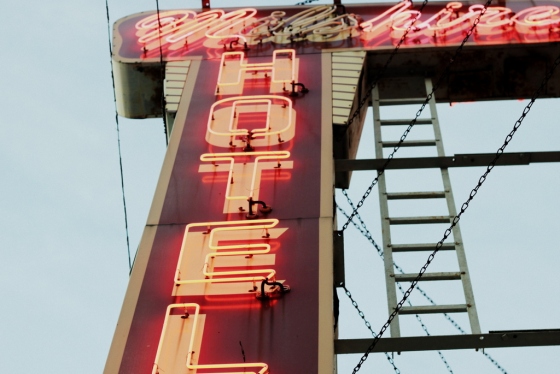
 I’m sort of obsessed with neon signs, so this hotel sign was an obvious subject for me.
 On Friday night, I made a few doodles. The triangle man reminds me of that They Might Be Giants song.
We had a great Thanksgiving at my sister’s house! We did the dinner potluck style, which made it pretty easy on everyone. Jim and I made a pork roast, biscuits, soup, and cranberry chutney (we made the last two the day before), my mom made the turkey, and my sister and bro-in-law made everything else. The food was all delicious, and it was a lovely day with my family!
On Wednesday night, Jim and I began our Thanksgiving preparations. Jim made a delicious squash soup and I made two varieties of cranberry chutney. One was from a recipe on AllRecipes and the second was from a recipe on the website Evil Mad Scientist.
They both turned out pretty tasty, although I think they both could have used a little more sugar–they were a bit tart!
So my 365 project is not quite over, but I decided the other day to make a video on it now, just for the heck of it. The video took me four days, which is kind of a lot compared to other projects, but it definitely shows the breadth of what I’ve done this year and, I must admit, makes me feel rather proud.
 On Sunday, we went back to my friend Kat’s school to hang up the water bottle river, the second art project we worked on Saturday with students from the school and their parents. It turned out so amazing! I love it so much!
To create it, we filled up the water bottles with a small amount of water and then added food coloring in different shades. Then we used yarn to attach the bottles to a net (this was tricky!). Finally, we turned the whole thing upside down and used zip ties to secure the net to the ceiling tile supports.
Kat, if you’re reading this, many congrats on these amazing projects, by the way! The students and families really seemed to love the projects and the end results of both of them were fantastic!